The Spurs
The Spurs
The spurs, that is, the shoulders of land on either side of Gully Ravine, are an integral and important part of the story of this sector.
Soon after the landings at Cape Helles on 25th April 1915, the high ground on the north west and seaward side of the gully was named ‘Gully Spur’ and that on the south east and landward side ‘Fir Tree Spur’. On Fir Tree Spur, the naming convention for the allied trenches was prefixed with ‘H’ and on Gully Spur with ‘J’.
With good reason, conventional military strategy indicates that if a force is to advance up a valley, the overlooking high ground should also be held, because otherwise and self-
On Gully Spur, above ‘Y’ Beach, the Turkish forces had established a redoubt with multiple machine guns which quickly proved to be a major obstacle to advances on this extreme left side. Similarly, on an area of land that slightly projected in to the gully on Fire Tree Spur, another fortified location was established. Because there was a trench in this vicinity which looped back on itself, it was named the ‘boomerang’ trench by the allies, and the Ottoman stronghold took the name ‘The Boomerang Redoubt’.
With interlocking fields of fire, these two redoubts held up the allied advance along the gully for weeks after the landings.
On the rainy afternoon of 12th May 1915, a force from Brigadier General Vaughan Cox’s 29th Indian brigade advanced along the beach below Gully Spur and that evening 1/6th Gurkha Rifles climbed the cliffs on to the bluff above Y Beach, driving out the Ottoman defenders with rifle, bayonet and kukri. On 17th May, General Routine Order number 160 declared that in honour of this extraordinary feat of arms, the strong point would be known thereafter as ‘Gurkha Bluff’.
The Boomerang Redoubt proved even tougher to crack. Early attempts, and a concerted push during the Third Battle of Krithia on 4th June 1915 in particular, all ended in failure as assaults were repulsed by solid walls of machine gun fire.
As the major push of 28th June was planned (an action which became known as The Battle of Gully Ravine, see the Campaign page), it was recognised that The Boomerang had to be neutralised before the wider advance could begin. The task was assigned to the battle-
As the allies advanced to their furthest positions along Gully Ravine and the spurs, the prosaically designated ‘H’ and ‘J’ trenches were renamed for the regiments who fought there and after the familiar places at home, hence Douglas Street, Essex Street and Lancashire Street, Piccadilly Circus and Ardwick Green to name but a few…
The Spurs today
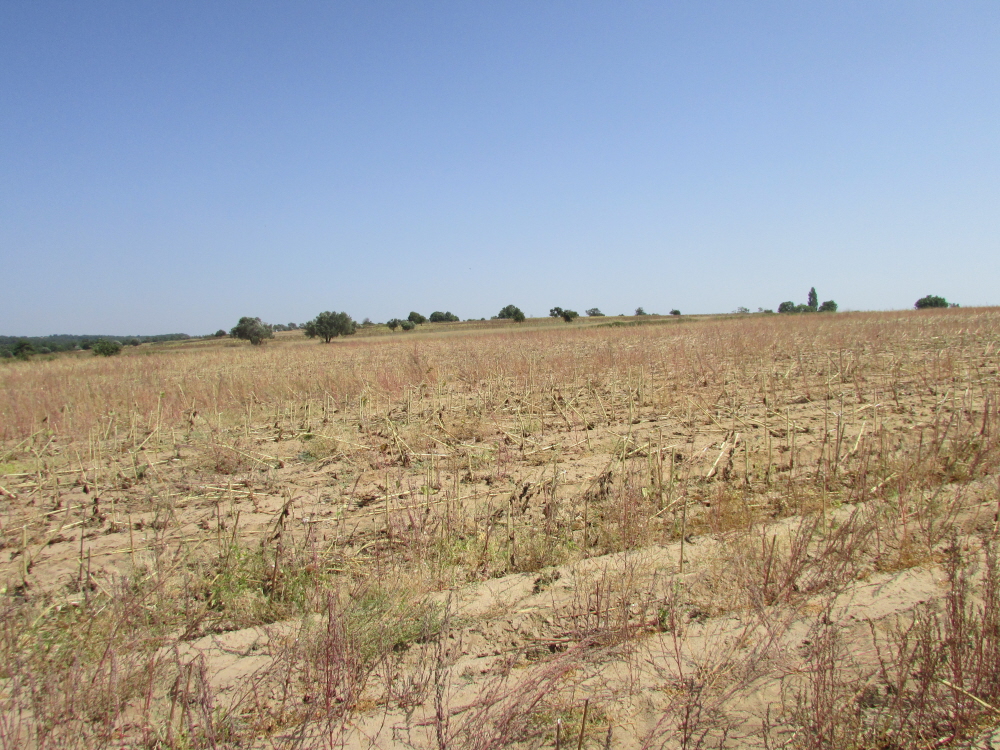
During the campaign, the spurs on either side of the ravine were depleted of trees and undergrowth, especially on Gully Spur. A considerable leap of imagination is needed today, with dense tangled growth interspersed with ploughed fields all across the area.
Gully Spur can be reached either by ascending from Gully Ravine along Artillery Row, or by walking south from Nuri Yamut/Fusilliers Bluff, passing Y Beach and Geoghegan’s Bluff and into the trees on the well-
Fir Tree Spur is more easily accessible, being reached at any point from Pink Farm to Twelve Tree Copse CWGC cemeteries from the Alcitepe road just to the east, but because of its accessibility and the fact that it is now largely farm land, there is far less 1915 evidence to see. Apart from the dense tree line above the gully itself, much this area is now working fields, so care must be taken, especially when in crop, to keep off private land and to walk only on the boundaries.
SPECIAL CAUTION is needed if you venture into the now wooded area on Fir Tree Spur south west of 12 Twelve Tree Copse CWGC. This is directly above the Zig Zag in Gully Ravine, and the trees end in some cases with a sheer 30 metre drop to the gully floor near the Zig Zag. 40.088637°, 26.202681°.
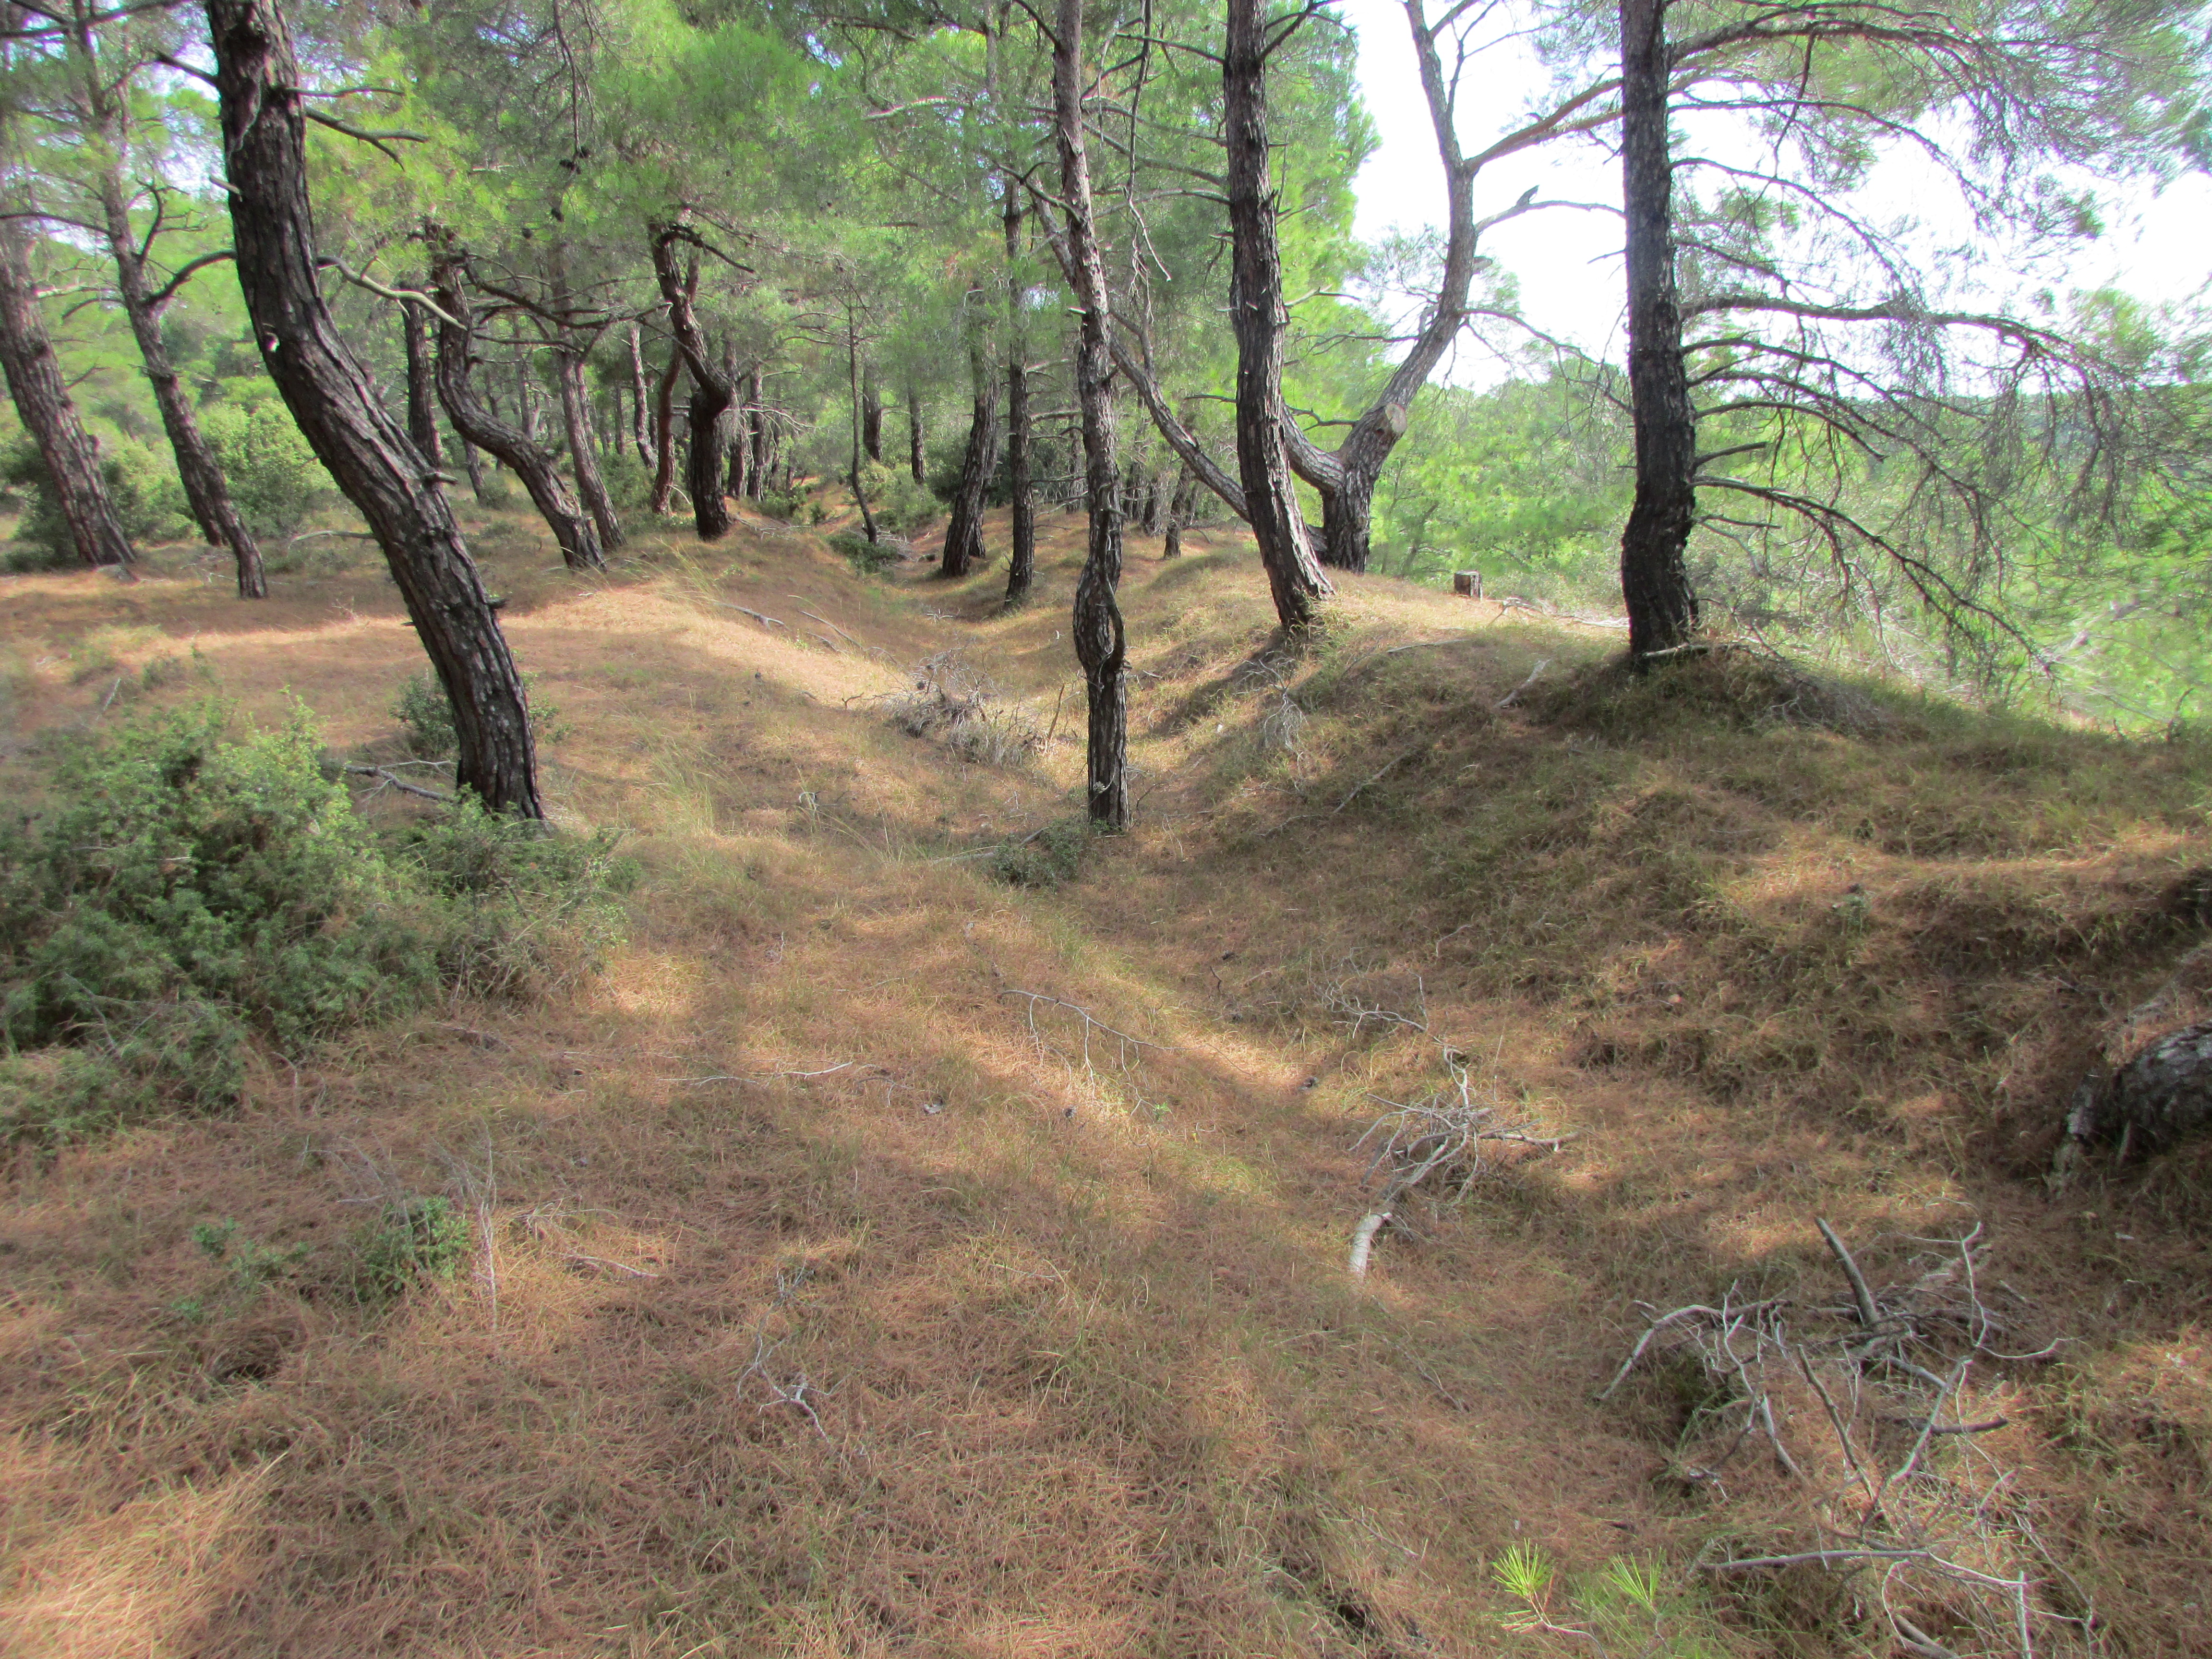

The rising ground in the image below lies to the east of the Boomerang and the upper reaches of Gully Ravine on Fir Tree Spur. The photo looks north eastwards.
Today the land is non-
With The Boomerang Redoubt taken earlier in the day by the Border Regiment, it was necessary to secure the nearby H11 and H12 Turkish trenches which dominated the slight rise on the east side of the gully. The Cameronians, principally the 4th, 7th and 8th Battalions faced this strongly-defended area, and a hitherto undetected machine nest further back in H13 was also ranged against them. Combined with this was the fact that as usual, the bombardment on Fir Tree Spur had been less effective than on the seaward side, where ships were able to add their fire. When the order came to go over the top the losses were appalling. Parts of H12 were eventually captured, but its eastern section remained in Turkish hands and a barricade was hastily erected. On the right of the Royal Scots the 8/Cameronians were let down by a totally inadequate bombardment and when they went forward, in the words of one officer ‘all ranks were slaughtered, literally by platoons’. 300 men and officers were killed outright in a few minutes.
At noon General de Lisle ordered that H12 must be taken at all costs, if necessary by sending in the reserves. Brigadier Scott Moncrieff ordered his last two companies of the 7/Cameronians forward and joined them to survey the situation. Crawling along a narrow sap he was killed instantly when he raised his head to survey the ground ahead. He is remembered at special memorial C132 in Twelve Tree Copse Cemetery.
Losses to the 7th and 8th Battalions were so severe that they were amalgamated afterwards into a composite unit but were still far too under-